
Designing Continuous Task Lighting with Linear Furniture Luminaires
Begin with the working surface
Linear furniture luminaires distribute light along a shelf or cabinet rather than concentrating it in a small spot. This suits kitchen worktops, desks, wardrobes and long display counters where users need consistent visibility. The fixture length should correspond to the useful surface below it. Start with a drawing showing the full working area, the furniture fronts and the locations where people normally stand or sit. Lighting geometry becomes clearer once the task is defined.
Use beam direction to control shadows
A kitchen light installed too far toward the backsplash may leave the front worktop in shadow. Moving the luminaire forward improves coverage but can expose the light source to view. An angled corner fitting can provide a different compromise. For a desk beneath overhead storage, aim the light where documents or keyboards are used. Check the beam under actual operating conditions rather than relying on the appearance of the empty cabinet.
Continuous lines require careful alignment
When several linear fittings are installed side by side, inconsistent mounting heights become visible. Mark a common reference line and measure from the same cabinet edge for every fixture. Linear Furniture Luminaires is one product category to compare against these installation requirements. Account for end caps, connectors and the small gaps that may remain between separate housings.
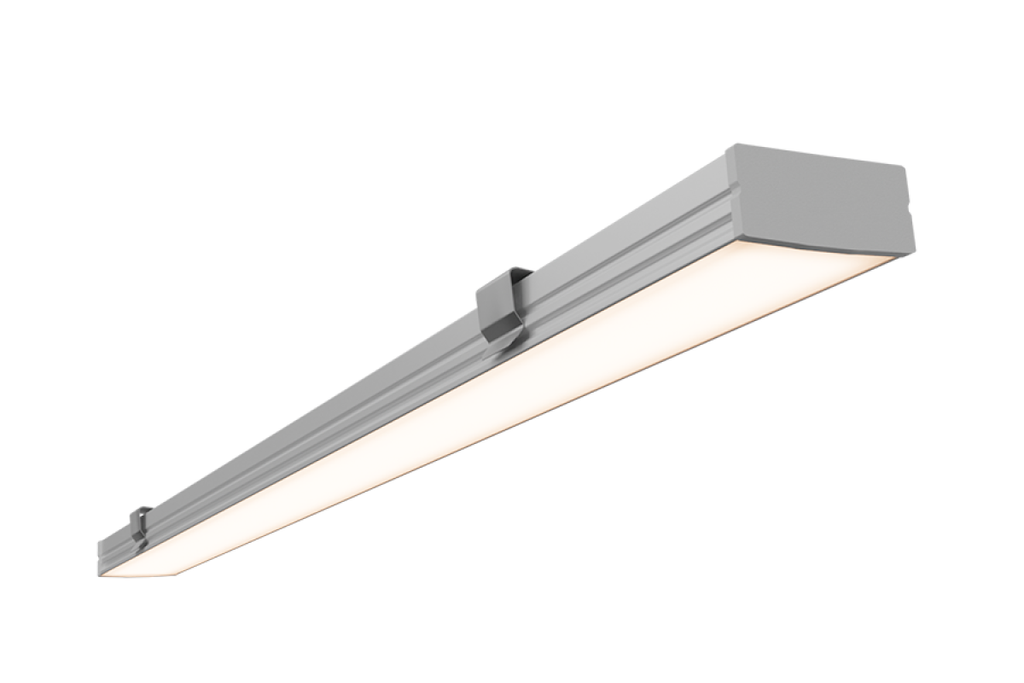
A short break can be acceptable where cabinets meet, but it should form a deliberate pattern rather than an accidental consequence of cutting lengths.
Recessed and surface-mounted designs differ
Recessed luminaires can sit almost flush with a furniture panel when the installation depth and routing are planned during manufacture. Surface-mounted units are often easier to retrofit because they avoid machining a long groove. Corner designs direct light away from the mounting plane and may suit the junction of a horizontal shelf with a vertical wall. Review the product drawings before choosing a method because available depth and fastening positions determine what fits.
Colour and diffuser quality affect comfort
The same luminaire can appear very different under a dark cabinet and a pale one. A diffuser softens individual emitters and reduces glare when viewed from below. In kitchens, suitable colour rendering helps users distinguish food tones; in wardrobes it helps with clothing selection. Choose colour temperature with the surrounding room lighting in mind. Mixed white tones along a single run can make otherwise matching cabinets look inconsistent.
Electrical design supports uniform output
Long lines require appropriate wiring and compatible power equipment. Add the rated wattages of all connected luminaires and check that switches, drivers and cables are suitable for the combined load. On low-voltage systems, conductor length and cross-section affect voltage drop. Where fittings have dedicated connectors, follow the manufacturer’s rules for linked lengths rather than improvising an unlimited chain. Protect every cable passing through a panel hole.
Controls should match the furniture activity
Under-cabinet task lighting often benefits from a convenient switch or dimmer near the working area. Wardrobe lighting may be activated automatically with a door sensor, while display furniture may follow a room-wide lighting scene. When multiple fixtures share one supply, check controller compatibility and the total electrical load. A consistent control method across a group of cabinets makes daily use more intuitive.
Allow access for repair and cleaning
A finished lighting line should still be maintainable. Avoid permanently enclosing power supplies in inaccessible cavities, and position connectors where servicing is possible. Inspect the surfaces before mounting: dust, grease and uneven panels can compromise installation quality. After wiring, test every segment for uniform brightness and correct operation before fitting final trim or closing the cabinet backs.
Choose a linear system around its setting
Linear Furniture Luminaires are worth evaluating for projects needing a continuous, compact lighting line. Compare length options, mounting geometry, output, diffuser style and supply requirements for each specific model. With accurate alignment and hidden cabling, a linear luminaire becomes part of the cabinet design while delivering useful illumination to the surface below.
Example: a long kitchen worktop
A kitchen has a sequence of wall cabinets above a long preparation surface. The user needs a continuous functional light but wants the source hidden from normal standing view. The designer first measures the usable worktop and marks the main food preparation positions. The linear fixtures are then placed toward the front of the cabinet underside while remaining screened by the front edge. Cabinet joints, cable holes and power supply positions are resolved before fixing. A sample fitting is tested for shadows while a person stands at the counter. Only then is the final sequence of fixture lengths selected, with deliberate treatment of gaps around cabinet divisions.
Example: a wardrobe with vertical light lines
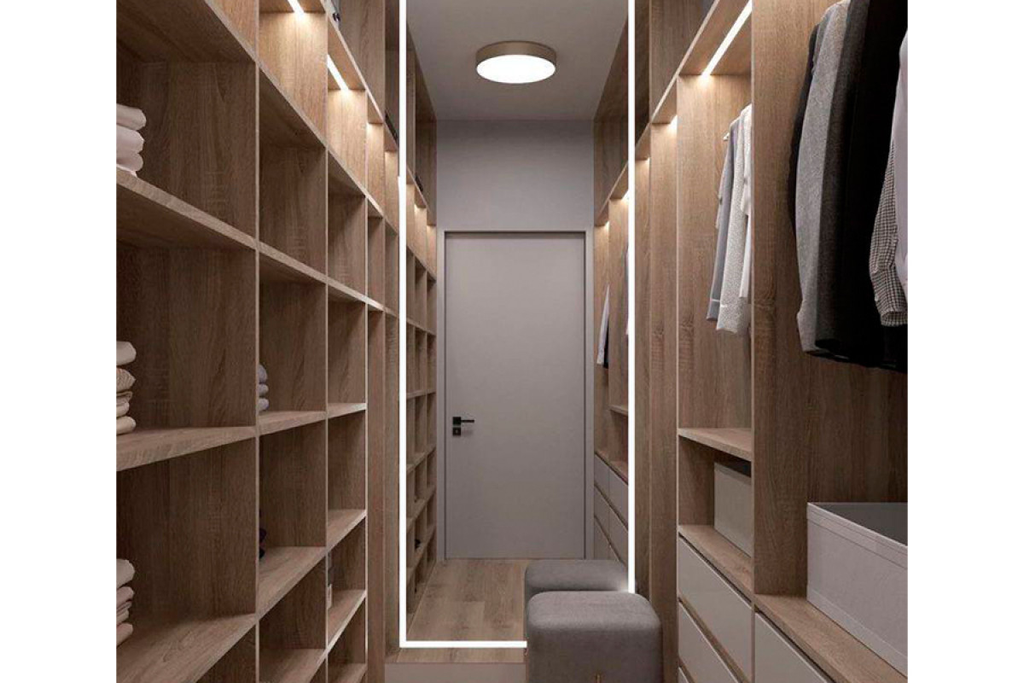
A tall wardrobe with deep hanging sections often benefits from vertical luminaires near the front edges. This orientation illuminates clothing at several heights and avoids the concentration of light directly beneath a single top-mounted source. Mark the position so hanging garments and sliding doors will not contact the fittings. Plan the wire route through a concealed upper or rear channel and decide whether separate door sensors are needed for each compartment. Test with the wardrobe filled, including longer coats, because empty storage produces a misleading impression of brightness. Consistent installation heights and colour temperature across adjacent sections maintain a coherent appearance.
Check the line under real conditions
After installing linear furniture lighting, examine the illuminated surface from both standing and seated perspectives. Any visible points through the diffuser may be more noticeable from an oblique angle than from directly below. Check whether the light produces distracting reflections in a polished stone worktop or glazed cabinet door. Long runs should be examined for differences in brightness between their ends. Controls need to respond consistently, and the full circuit should be tested at the intended operating level. Before final acceptance, clean dust from diffusers and check that access to power equipment has not been accidentally blocked by completed furniture panels.
For related furniture and architectural lighting components, the LEDUA catalogue https://leduastore.com/ offers a wider range of fittings, electrical accessories and installation options. Select each component from its actual technical documentation and coordinate the complete assembly before installation.


